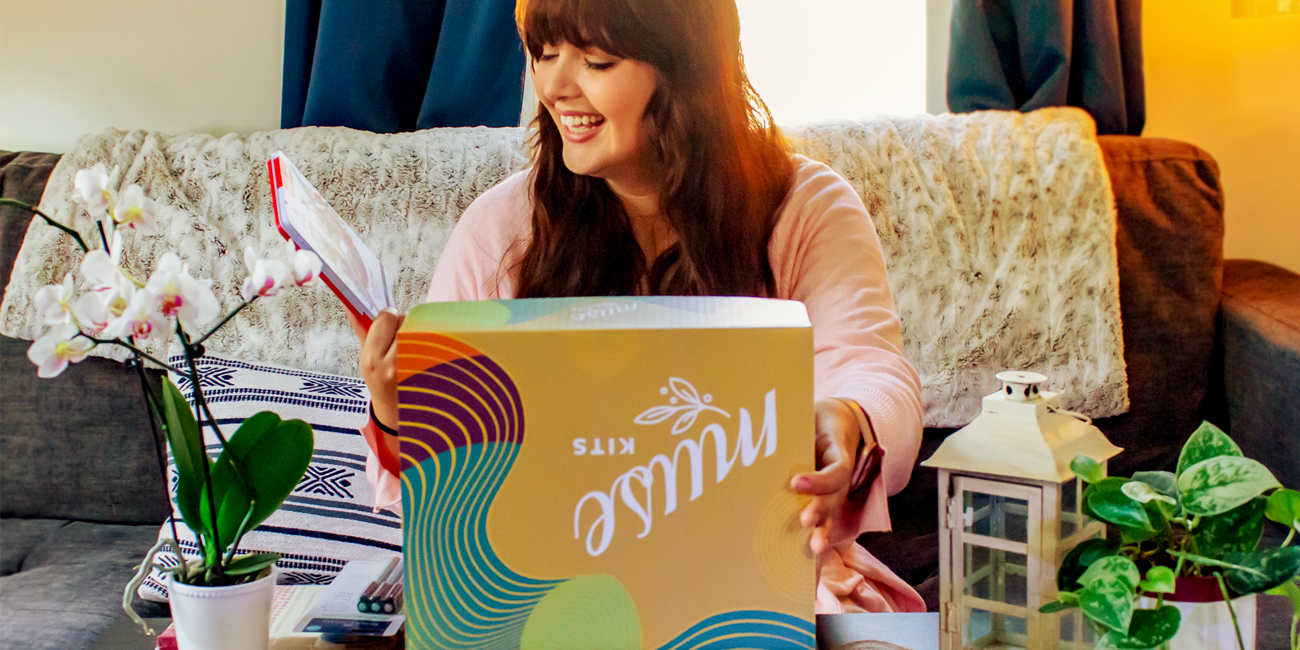

Well, hello, Muse Kit friends!
Can you believe it's finally December? We can’t get our heads around it. This year has been a big one for us with our big brand overhaul from Smart Art to Muse Kits, but we are so happy with the results, and your fantastic feedback and support has made it all worth it.
The final box for 2022 is a fascinating medium: resin art!
This three-dimensional crafting medium lets you create unique, practical, and aesthetic pieces that harden and can be used for many purposes.
Our brochure has a very clear and helpful explanation for how to get started with resin, but what about when you’ve caught the bug and fallen in love with it? How can you take it to the next level?
In today’s blog, we are going to be giving you five different ways to create some really stunning and unique resin pieces to grow your skills and test the boundaries.One thing I need to note before we get into the inspiration is safety. Resin art can cause some fumes, which are not very good for you to inhale. To be as safe as possible, we recommend working in a well-ventilated room and using a mask if necessary. But, with all that said, get your creative hats on and let’s get inspired!
What is Resin?
Ok, so before we get started, we thought we would explain what resin is you you have a better idea of how it works.
Resin or, to use its full name, epoxy resin, is a two-part solution made up of one part resin and one part hardener. These two ingredients are only combined moments before you want to work with it, as it will begin to harden quite quickly.
The resulting resin is a transparent liquid that is very thick but pourable. Once it is poured into the appropriate mold, the resin must be left to harden and cure fully before it is removed. There are so many molds on the market to choose from that allow you to create so many things out of resin. Figurines, coasters, toys, jewelry, dice, art, ashtrays, bowls; we could go on and on. The possibilities are truly endless!
Once it has hardened, the resin is 100% food safe. You can also sand and drill through it without cracking or breaking the item.
5 Ways to Take Your Resin Art to the Next Level
Once you’ve got the hang of resin art, there really are endless options for what you can create!
There are so many colors, additives, pouring techniques, and layering that you can incorporate that you are almost spoiled for choice. The molds you use can also be beneficial in creating your desired surface texture that finishes off the piece so perfectly.
Today we are going to give you five different ways that you can experiment with resin to create completely unique, beautiful works of art.
Let It Sparkle
Every resin artist’s best friend is glitter!
Its beautiful shimmery finish gives each piece dimension and adds a shine that is hard to beat!
We recommend using fine glitter, which will prevent it from sinking to the bottom. However, if you use chunkier glitter for the aesthetic, you can just wait a little while for the resin to thicken slightly before mixing in the glitter.
If you don’t want to mess around with loose glitter, you can also try using ground-up eye shadow. This is a very effective technique that will help you use those eyeshadow shades that you never find yourself reaching for.
Gold leaf is also a very impactful way to add sparkle and shine to a piece in a way that looks delicate and expensive. We like to add this with tweezers and let the flow of the resin move it around naturally.

Use Nature
Using dried flowers and leaves is one of our favorite things to base our resin designs around. The resin allows their beauty to be seen from all sides and really highlights their delicacy.
You can press the flowers or use them whole, but either way, they should be given at least 3-4 weeks to dry before placing them in the resin.
A stunning way we have seen this used is an artist using the crushed petals of the first rose a customer’s husband gave her to create a ring, necklace, and earring set. This way, the couple gets to enjoy the memories without them crumbling away in a box somewhere.
If you want to achieve the look of fresh flowers, then we suggest using silk, fake flowers, as fresh flowers do not work in resin.

Liquid Centres
The liquid core is a challenging technique, but once you have a handle on it, it really pays off in how stunning it looks.
Making one of these involves filling glass orbs with a liquid. (These orbs can be bought for relatively cheaply online.) Once you have filled the orbs to the top, then you can seal the top with UV resin and cure it under a light to seal it up tight.
Then the orbs can be inserted into the silicone mold to be suspended in your creation.
We like to color the centers and add glitter to really emphasize the swirls as the core moves.
The liquid in the core can be made from a variety of things, including water. The most original liquid core we have seen is someone using Tide laundry detergent! Basically, if it can flow and it won’t go bad, it should be fine to be a liquid core.

Watercolor Effect
The brochure has an excellent explanation of how to work with multiple colors in the ‘Skills Challenge’ section so use this to your advantage to create some stunning watercolor effects.
As with all watercolors, we suggest being careful with your color choices and limiting your palette so you don’t accidentally create a muddy mess.
Mix up a few colors and work quickly to pour them in at different points across your piece. Move the item back and forth and tip it up and down to allow the colors to blend at the edges and create that stunning watercolor effect.
Use lighter or metallic colors to marble with your darker shades to give a piece contrast and dimension.

Add Some Extras
One of the best things about resin is that you can case almost anything inside it.
If it fits and is not made of something perishable, you can probably put it in resin. This lets you get totally creative with what you can incorporate into the piece. Sand, ribbons, toys, gems, pearls, etc; the list could truly go on and on.
Resin is also a wonderful way to preserve heirlooms or delicate items that may otherwise deteriorate when left exposed.
One of the most comedic and effective ways that I have seen added items used is by the Dungeons and Dragons dice maker Smoking Glue Guns.
She once created a giant D20 dice and a complete set of DnD dice using clear resin with tiny little plastic babies suspended in them. The effect was so funny, macabre, and wholly unexpected that we had a good giggle over it.
That little anecdote is just to prove to you that the world of possibilities really are endless! The only thing you are limited by is your imagination.

We hope that this box is a great way to finish off this year's creative endeavors. We love working with resin, and we think you will too. We are so excited to see and share what you’ve made with your newfound skill.
Have a wonderful holiday season and a great New Year from everyone here at Muse Kits!