

Hello and happy March Muse Kit friends!
This month’s theme is very exciting because not only are we exploring a medium, but we’re trying a new surface too! This month we are going to be working with acrylics on wood.
These two are often seen in different settings, with acrylics on canvas and wood being used as a sculptural material, but we are here to flip that on its head and combine the two. Working with acrylic paint directly onto wood gives you the opportunity to learn a new surface and adapt your painting skills to something totally new.
The depth that is created with wood grain or tone as a backdrop is unparalleled, and we can’t wait to introduce you to it!
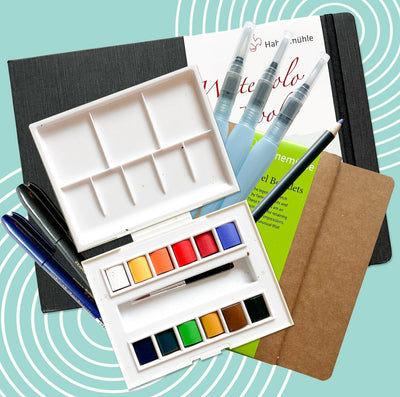
So let’s gather our materials and prepare to learn brand-new skills.
Changing Your Painting Style
If you have been a subscriber for a while or are an avid painter in your own time, you are already approaching this new project with some painting skills. These will come in handy, but you need to be prepared to switch up your regular practices a little to make this work.
The major difference when you are changing your work surface is the porosity.
For instance, if you are a watercolor painter, you are very familiar with the texture of your paint and how it interacts and absorbs into your watercolor paper. All of these factors contribute to the color payoff and how the overall piece ends up looking.
For today, we are going to be focusing on acrylic paint and how to adapt your technique when you’re working with wood. If you already work with acrylics, you’ve likely been painting on mixed-media paper or canvas. Both of these mediums have very different qualities compared to wood and will absorb the medium to a certain extent.
Wood is a hard and more durable surface than canvas, and if it is properly prepped, it will not absorb any of your paint. This means that the surface will have minimal effect on the paint as it is applied. You can simply paint how you always would with acrylic without drastically changing your technique. It is also an easy surface to build your paint up to add extra texture.
However, one aspect that will play a part is the color. It is likely that you are used to painting on a blank white surface, so you are used to what your paints look like against it. However, each plank of wood will come with its own unique shade, from the palest pine to a deeper MDF board. This will make your paint colors look different, especially in sheerer areas, so you will have to layer and adapt to make the colors look the way you want.
Painting on wood in acrylics doesn’t require too much change in your application skills, but it can provide you with just enough of a challenge to create art that is a little more unique than your previous pieces.
Acrylic Paint on Wood
Clearly, not all paint can be used on wood, depending on its makeup. For example, you wouldn't try to watercolor on wood because it is too watery and would be absorbed by the wood or simply run off.
So what makes acrylics so good for the job?
Well, acrylics are a plastic-based paint that is good to use on many surfaces, from your traditional canvases to glass, fabric, and even wood. They are also flexible, so if any warping occurs, it reduces the likelihood of your painting cracking. Acrylics are also fast-drying and water-resistant once they are dried, which makes them very durable.
Acrylic and oil paints are the ideal paints to use on wood. However, oils can be expensive and complicated, so we want to start you off with acrylics because they are more accessible and easy to work with.

Preparing your Wood For Painting
The most important part of painting on wood is the prep work. Prepping the surface will protect the wood from absorbing the water and paint, which can cause rot over time and make your piece stand out in the best possible way.
So how do you get started? Let’s take a look at what you need to do to prep.
There are two reasons for prepping your wood; protecting the wood and improving the adherence of the paint to the surface. If you get both of these right, you will have a smooth painting experience and finish with a piece that won’t crack or fade.
How to prepare your wood for painting:
1. Clean off the wood and get rid of any dust or debris.
2. If the wood is rough in texture, sand the surface with various grits of sandpaper until the surface is smooth.
3. Apply the first layer of acrylic sealant to the surface and allow it to dry.
4. The wood will feel rough after this application. Sand lightly with fine sandpaper to get rid of the worst of the surface texture.
5. Apply the second coat of acrylic sealant and allow it to dry thoroughly.
6. Apply a layer of acrylic primer and allow it to dry.
Please note if you are working with particle board or MDF, then the texture of the wood will be smooth and finished, so sanding may not be necessary. When it comes to this type of wood, you could choose to skip the steps above and simply give your board a wipe-down before you start painting. This is the type of wood that you will find in your box because it's the perfect jumping-off point for your skills.
However, if you want your painting to have the best chance of surviving, then there is no harm in doing the prep work anyway. This will give you an excellent base to work off of and prevent any damage to the wood by moisture.
If you want to dip your toe into wood painting, we recommend starting with MDF to get you used to the surface without having such laborious prep work.
However, once you are used to it, we encourage you to try painting on a more textured wood with wood grain patterns because it adds so much life to a painting.

Painting with Acrylics on Wood
Now that you have your wood primed, it's time to paint!
The way you approach the painting is the same, regardless of what wood you are using. As we have explored, acrylic and woodwork work very well together because of the consistency, so you can really get in there and start painting whatever you like.
To understand how to paint on wood, you really need to understand the surface you’re working with. Different wood types and grains will have different textures, porosity, and finishes, so you need to get to know these elements to understand what your work is going to come out like.
For instance, MDF gives you a blank canvas to work on that only really contributes its brown color to the piece. However, if you are working with a piece of natural wood, then you can utilize the unique wood grain in all its knotted beauty to inspire you.
Try and find shapes and directions in the grain and see how you can incorporate them into your piece. The melding together of nature's beauty with your own art will result in a piece of art that is wholly unique and beautiful.
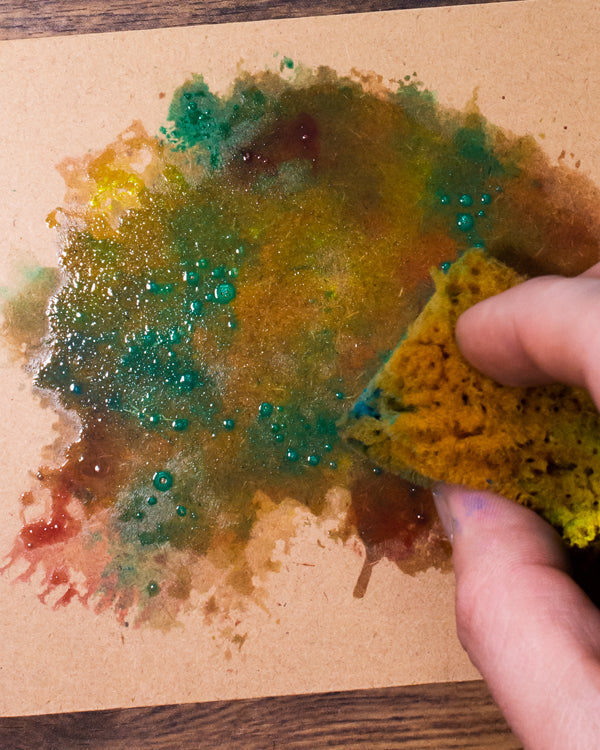
Blend some colors, work in some textures, and see where your creativity takes you.
Using wood as a painting surface is a fun way to test your skills and create an art piece with a lot of texture and unique character.

We hope this has helped inspire you to make your own incredible acrylic on-wood pieces; we can’t wait to see!