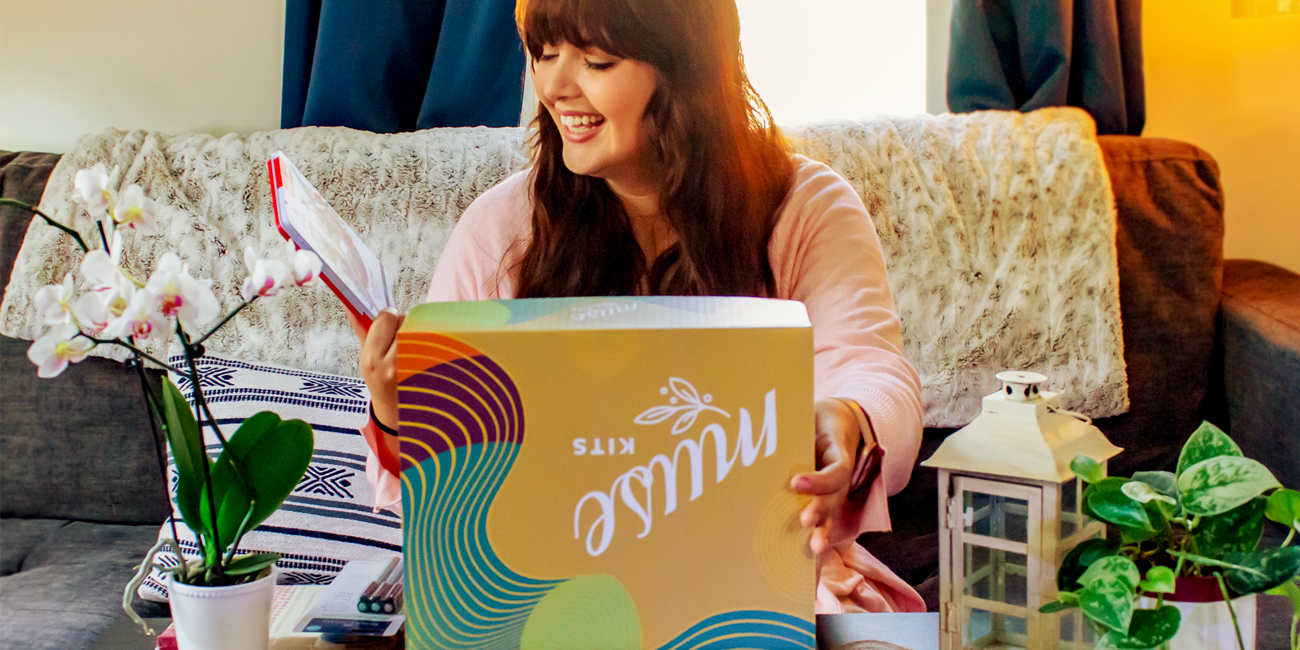

Happy December, Muse Kits, friends, and welcome to this month’s box!
I can’t believe it's already our final box of the year; it has flown by! But don’t worry, we ended the year off strong with card making! Whether you’re making a holiday card or creating cards for another occasion, we’re providing you with some great art supplies to make some elevated creations. After this month, you’ll never want to buy another card ever again!
So grab your supplies, and let’s get card-making!
History of Card Making
Before I delve into some tips for great creative cards, I wanted to discover how greeting cards came about and how they evolved into what they are today.
As with so many of our favorite art forms, card-making originates in ancient China and Egypt. The Chinese would exchange cards at New Year's, while the Egyptians would send good wishes on rolls of papyrus. The selling and exchange of handmade cards, particularly for Valentine’s Day, became popular in Europe in the 1400s.
But it would be another 400 years until the first recorded Christmas card was created in London. A lord called Sir Henry Cole commissioned artist John Calcott Horsely to design a card that he could send to his friends to bestow Christmas wishes.
Not long after, in 1856, a company was set up in Boston to create lithographic greetings cards. This was considered to be the establishment of the greeting card industry in the USA.
Now, manufactured greetings cards are a huge industry, with a card available for every occasion. Today, I’m here to motivate you to save your money and use your artistic skills to make a homemade card instead.something beautiful.
Of course, no matter what glass you’re using, make sure to clean it well and dry it to remove any dust and food residue on the surface that may interrupt your work.
Tips for Making Creative Cards
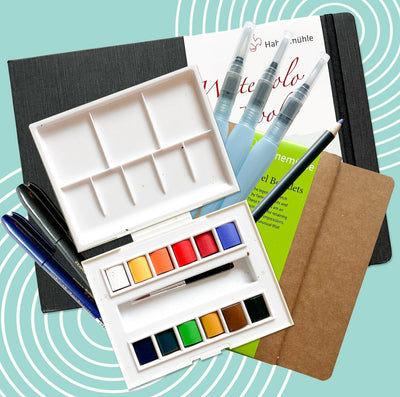
This month’s box has a whole host of excellent materials for creating some really great cards, but don’t limit yourself. Why not look back into art supplies from the past month’s boxes and see if any of them could work for card making? I can just picture doing some gorgeous text using the glass dip pens from a few months back and adding some color with your graffiti supplies.
Here are a few tips for making some really cool and unique cards for your loved ones this holiday season and way into the new year:
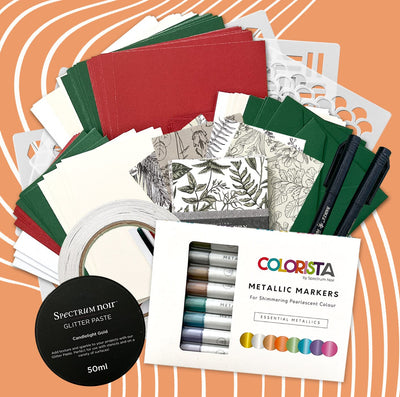
Add Some Sparkle
I love a bit of sparkle, so adding them to my cards is a must! In the kit, we’ve given you metallic markers and some glitter paste to work with on your cards. These are great options if you want to limit the mess that glitter can sometimes cause.
You can also explore loose glitter of various textures, but make sure you stock up on Elmer’s glue so it stays put! I love adding a little accent of iridescent white glitter to a snowy scene to give the design some dimension.
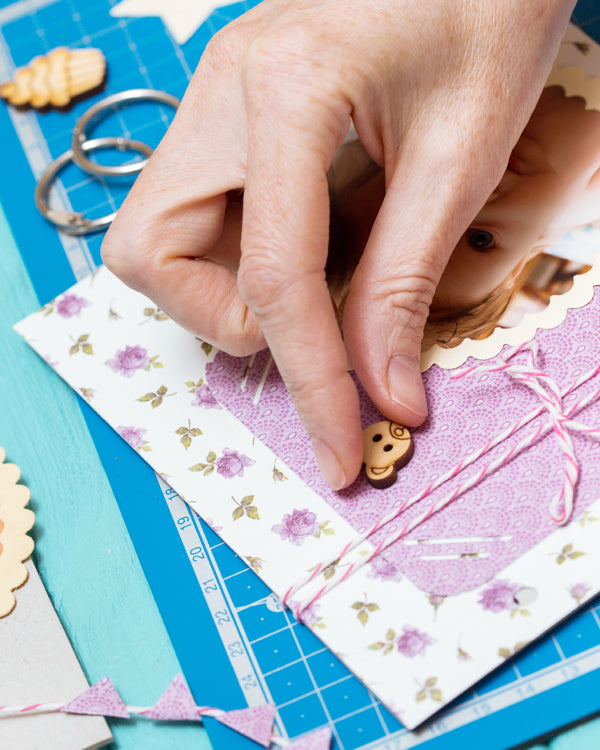
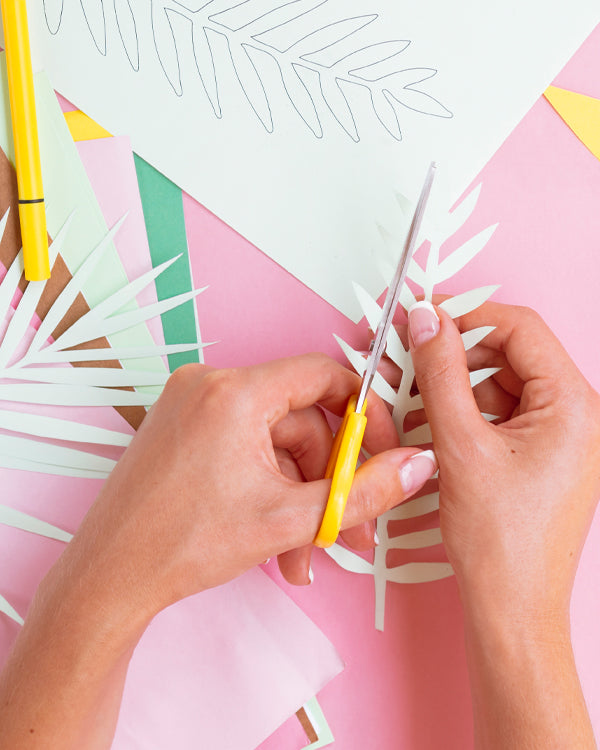
Explore Cut Outs and Pop-Ups
Cutouts and pop-ups are much easier than they appear, and they really take your cards to the next level.
Cut-outs add a lot of depth to your cards, and there are so many ways to do it that you can get really creative. The best way for cut-outs to make an impact is to use a contrasting color behind them so the color peaks through. I like using a cutting mat and a craft knife to make my cut-outs, but there are a lot of patterned punches available that you can use to make the process a little quicker.
All you need to do for pop-ups is cut a notch into the back of the card, pop it out, and glue your design to it. There are so many tutorials for this online that are only a few minutes long, so I recommend looking for those. You can draw and decorate the pop-up design itself separately, but make sure to measure it so it fits nicely inside the card.
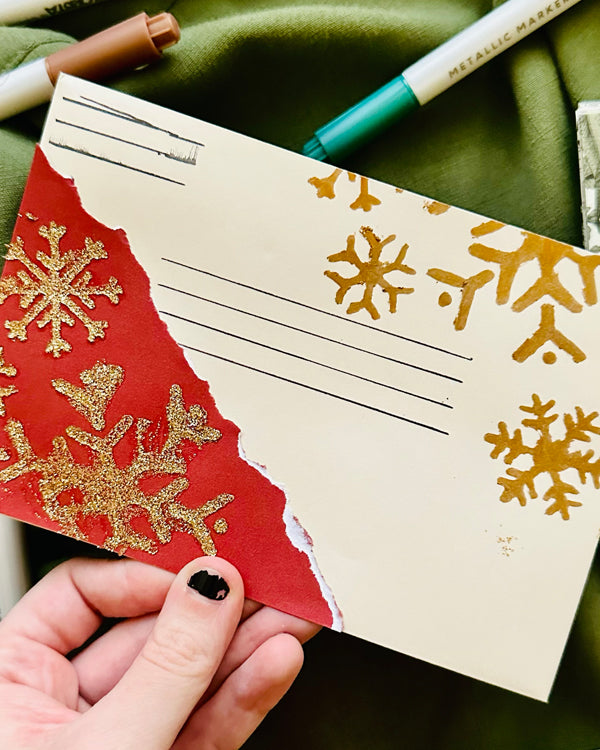
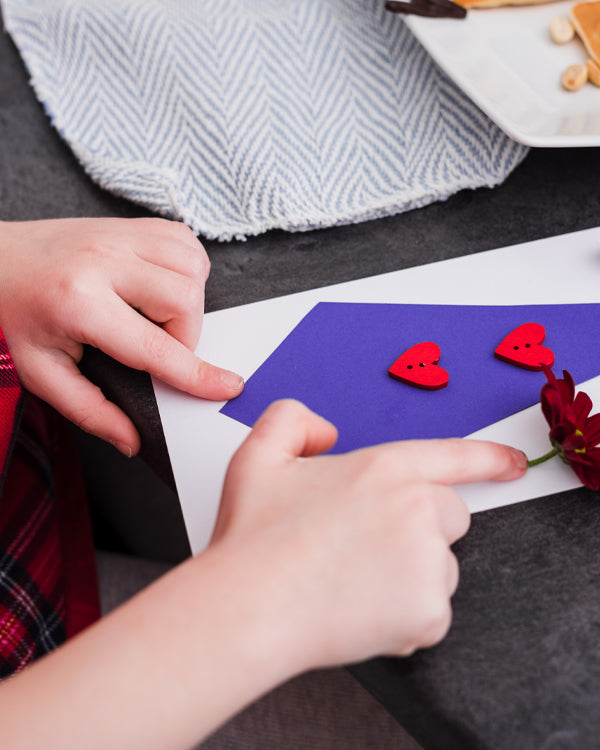
Add Some Extras to the Envelope
Adding a little sprinkling of something in the envelope is a little extra that adds some fun to the opening process.
If you’re a little diabolical, you can use glitter, but I prefer to stick to themed confetti that is less likely to stick around in your house forever. Little snowflakes for a Christmas card or hearts on a Valentine's card really show that you put thought into your card.
If you want to keep it more natural, you can add dried flowers like lavender or chamomile that will release a beautiful fragrance when you open the envelope.
Break Away From the Rectangle
I know we’re all used to the traditional rectangular card, but you don’t have to feel limited to it.
Why can’t a card be a heart, star, square, circle, or triangle? You can even get more ambitious and shape them to a theme like a flower or a snowman. One edge needs to join, and that should be sufficient to keep the card functional.
I’ve even seen some artists make their cards into a paper game or origami that has to be unfolded to reveal the contents of the card. The possibilities really are only limited to your imagination.
Include the Little Ones
If I know you all, you’ll want something a Do you have a little baby that's too small to help you make cards? Or a dog or cat that refuses to craft with you? You can include them in your family cards using foot and paw prints. This is a classic, but it never really gets old!
Another great way to include the little ones is by using a page of scribbles page as a base. Give them a page of card stock and a selection of crayons, and let them go wild. Then, you can fold that up and use it as the backdrop for your text and other decorations. I like to cut these out of a separate piece of paper and stick them on later.
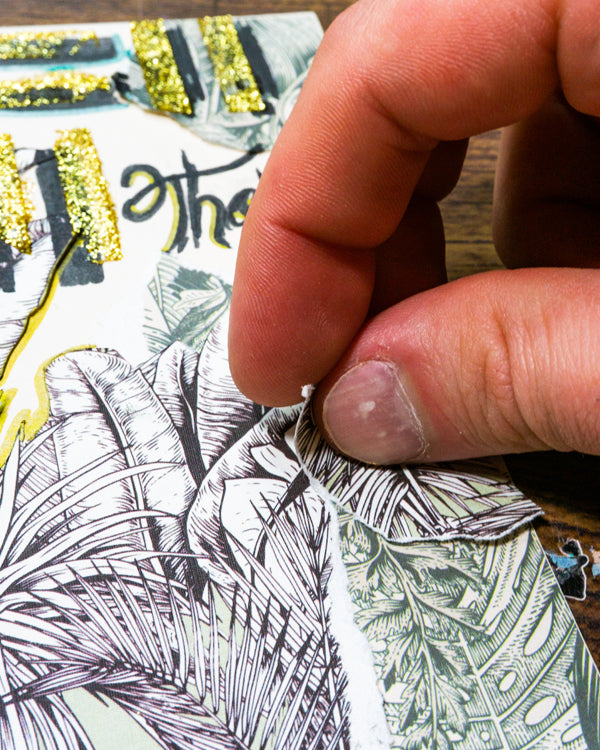
Collage is Your Friend
Not every card has to be hand-drawn. If that’s not where your skills lie, or you just like the aesthetic, you can collage a card instead.
This art form is so fun and super cheap! All you need is your card stock, glue, and some old magazines to cut from. You can search for materials with a theme in mind or see how the images inspire you. Be sure to glue down every little edge so your card doesn’t slowly unpeel over time. You can also modge-podge the collage if you want it to stick really well.
I find the cut-out magazine text to be a little too ransom letter for me, so I like to combine collage with hand lettering using pens and markers.
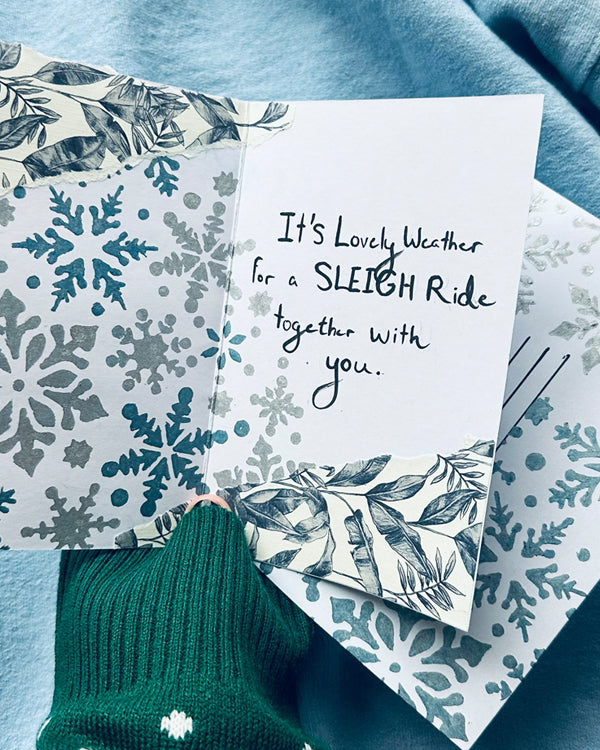
Holiday cardmaking is a delightful way to spread joy and warmth during the festive season. With a variety of materials like colorful cardstock, glitter, and festive stamps, you can create personalized cards that capture the spirit of the holidays. Whether you're making simple or fancy designs, each card is a special way to make your loved ones smile.