Hi there Muse Kit Pals!
Welcome to April’s box! This month we are merging fine art and fashion to explore the wonderful art of tie-dye!
Tie-dye has been around for decades, but its popularity never seems to go away. Trends may come and go, but tie-dye will always resurface every few years and take the stores by storm! But, instead of spending your hard-earned money, what could be better than learning to make your own fashion pieces that are entirely customized by you?
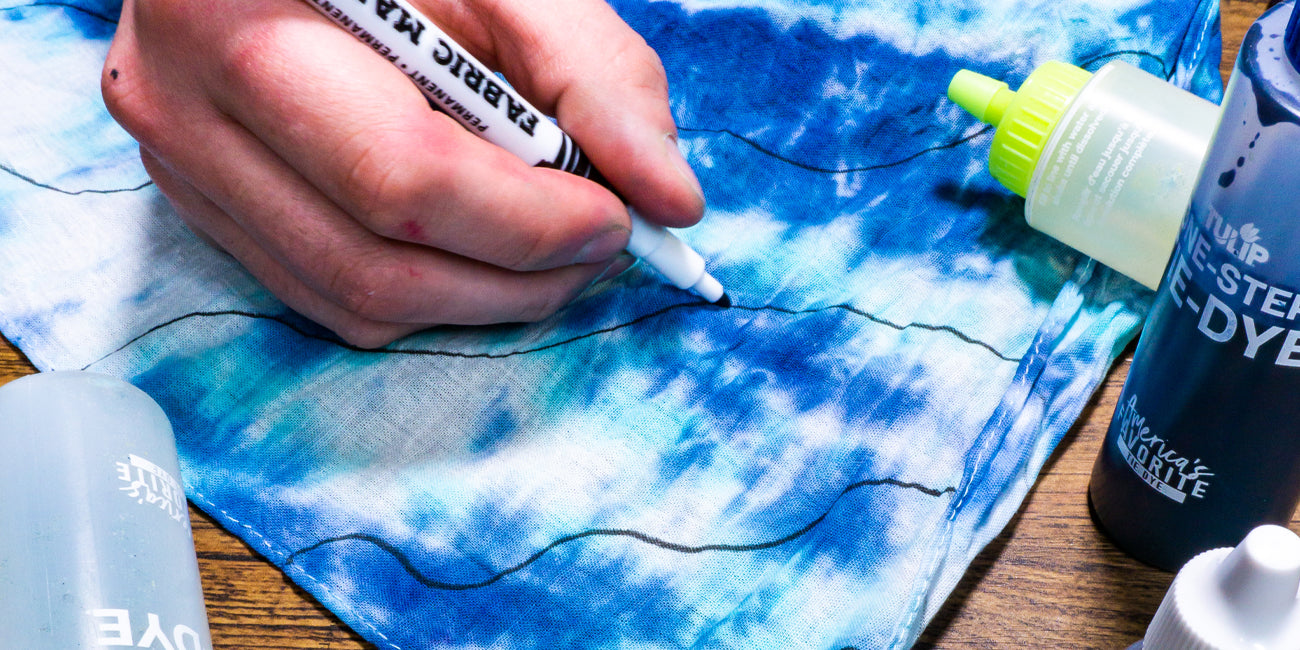
As usual, our brochure has all the details you need to tie-dye a small bandana for your first project, but here on the blog, we wanted to expand on that. Tie-dye is an art form that is full of possibilities! There are so many different ways to tie and apply your colors that will all result in a different effect, so we wanted to introduce you to a few of our favorites to help launch your tie-dye era!
Now, grab all your supplies, and let’s learn how to tie dye!
A Brief History of Tie Dye
So, before we get into the different ways to tie-dye, we wanted to give you a quick overview of how this special technique came to be.
It might surprise you to discover that tie-dye is actually an ancient art. This simple technique is called resist dying because it uses ties to restrict certain areas of your fabric and creates zones for you to dye certain colors. The areas that are tied will stay white, and marble its way through the color. Since it doesn’t require any fancy equipment, it's not surprising that it's been around for so long!
The oldest dated tie-dye from the Far East is from 5th century China while the oldest example in Peru can be dated back to 500-800 AD! Tie-dye was brought to the western world around 1909 by a Columbia University professor who acquired a piece on his travels. He was able to share this discovery, and the technique that the locals had taught him with his students, and the knowledge spread from there.
However, it wasn’t until the 1960s that tie-dye would become a global trend. It became popular with the rise of the hippies and was spread by musicians like Janis Joplin and John Sebastian. The latter enjoyed making his own tie-dye clothes at home and would sport them when he played live.
Because tie-dye was so easy to do yourself at home, its popularity spread fast and became the textile of a movement towards free love. Nowadays, it is popular with everyone, from adults to children, and has been adopted by many popular brands.
4 Different Ways to Tie Dye
Now, tie-dye may seem intimidating, but once you get the hang of it, there are so many cool ways to use this technique that all result in a unique style of patterning.
The great thing about tie-dye is that it's more forgiving than dying a piece of clothing a solid color. It's quite disappointing going through the process of dying something, only for it to come out uneven and patchy. Luckily, the whole point of tie-dye is to be patchy and uneven!
Essentially, tie-dye is a dye technique that involves folding, crumpling, pleating, and twisting fabric and securing it in place using rubber bands or string. Dye is then applied in strategic areas and allowed to set before being untied and revealing a stunning pattern.
Once you’ve finished dying, you need to rinse the item in cold water before putting it through a regular wash by itself to wash out any excess dye without damaging any other clothing.
Now that you’ve got a general idea of what tie-dye is, we can get into the fun techniques. Today, we are going to introduce you to four different techniques that you can use to get you started.
All of these techniques can be used with one color or a select palette of colors. It really depends on your taste, your favorite colors, and how colorful you want to get.

Spiral
When you think of tie-dye, the classic spiral is probably the first thing that comes to mind, and luckily, it's really easy to do.
1. Pinch a small area in the center of the item and hold onto it tightly with one hand.
2. With the other hand, start to spiral the rest of the fabric in a clockwise direction around the center point. Try and keep the piece as flat as possible, so you create a thick disc rather than a ball of fabric.
3. Once the whole piece is spiraled, secure it in place with 3-4 rubber bands.
4. Apply the dye in the segments created by the rubber bands; this design works really effectively when you use a different color in each segment.
5. After the dye has been set, you can untie the item, and there should be a colorful spiral taking up your whole piece.
Scrunch or Crumple
Crumpling or scrunching the fabric in a random manner will end up with a patchwork-style dye job that covers the whole item.
1. Lay the item as flat as possible.
2. Start by pinching and crumpling small areas of fabric and twisting spots with your fingers.
3. Continue this until the fabric comes together in a crumpled disc. It's very important that the disc stays flat so the dye will permeate all the way through. The tighter you crumple it, the more areas of white there wil be.
4. Secure the fabric with a number of rubber bands.
5. Apply the dye at random or in areas defined by the rubber bands; this technique is less precise, so the dye application doesn’t have to be perfect.
6. When it is set and untied, the item will have uneven areas of tie-dye that look almost like watercolor.

Sunburst
If you like the look of small bursts of tie-dye across the fabric, then the sunburst technique is ideal for you! It's also really easy to execute, so your piece should come out great with very little effort.
1. Lay the fabric down flat.
2. Pinch 5-10 small areas of fabric across the surface of the fabric and secure them with rubber bands.
3. This pinching will wrinkle up the rest of the fabric, but this is ok because it will create its own tie-dye pattern.
4. Apply one color of dye to each secured knot and apply another color to the rest of the fabric.
5. When you untie it, you should be left with sunburst patterns of one shade against a watercolor effect background.

Ice Dying
Ice dying is a really fun technique that we love playing with because the effect comes out so different every time. This style of dying uses powder dye rather than the liquid dye that came in your box, but you should be able to pick it up at your local craft store.
1. Form, crumple, or spiral your piece and secure it using whatever technique you like best. As usual, make sure the fabric stays in a flat disc once it is secured.
2. Place your fabric on a drying rack over a plastic container where the water and dye can collect safely.
3. Cover the fabric evenly in ice.
4. Using a spoon, sprinkle the different colors of dye over the fabric in whatever pattern you’ve chosen with your tying technique.
5. Allow the ice to melt. The melting ice will deposit the dye through your fabric to create a unique tie-dye pattern.

We hope this has helped inspire you to make your own beautiful tie-dye!